4 min read
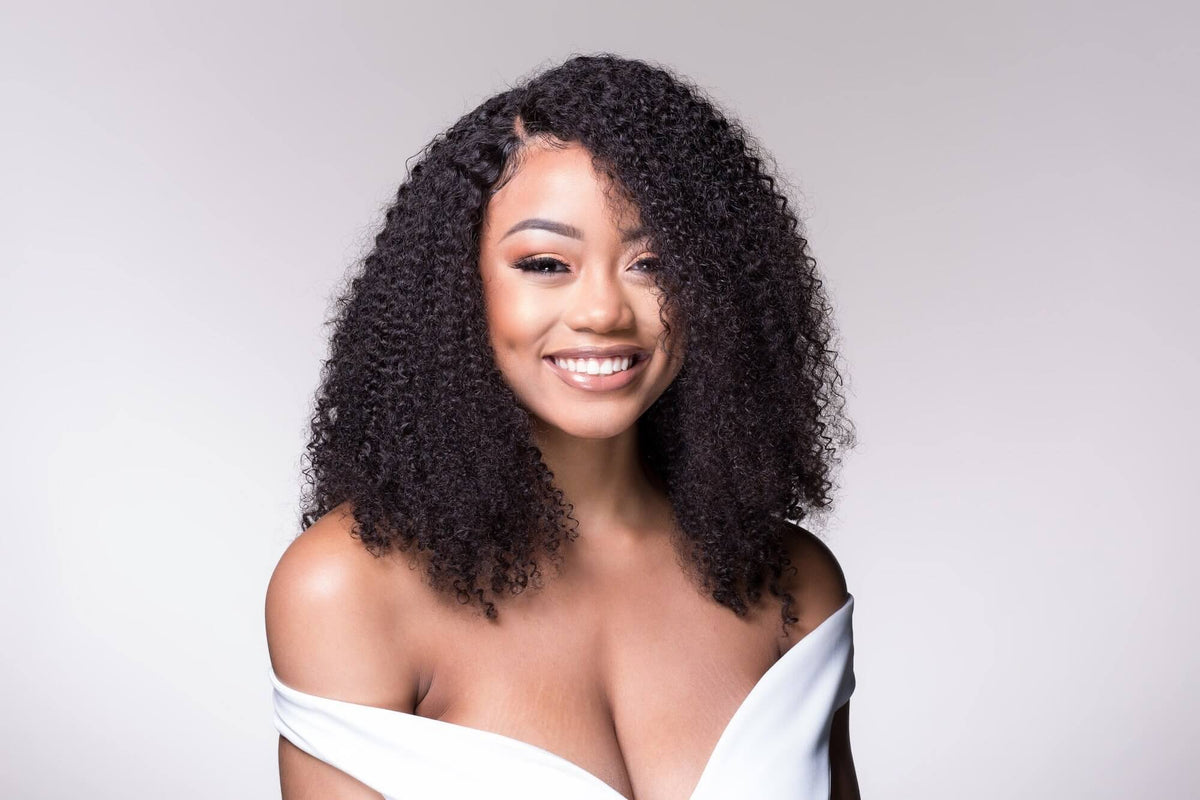
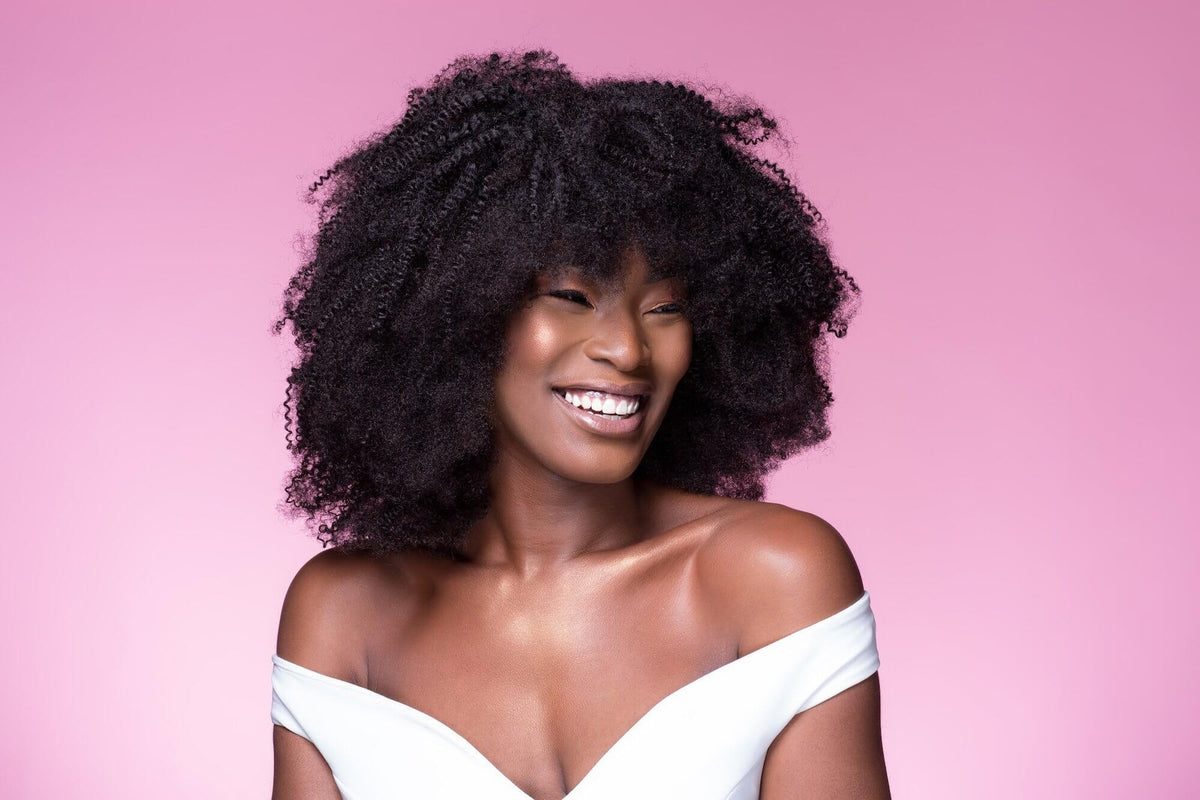
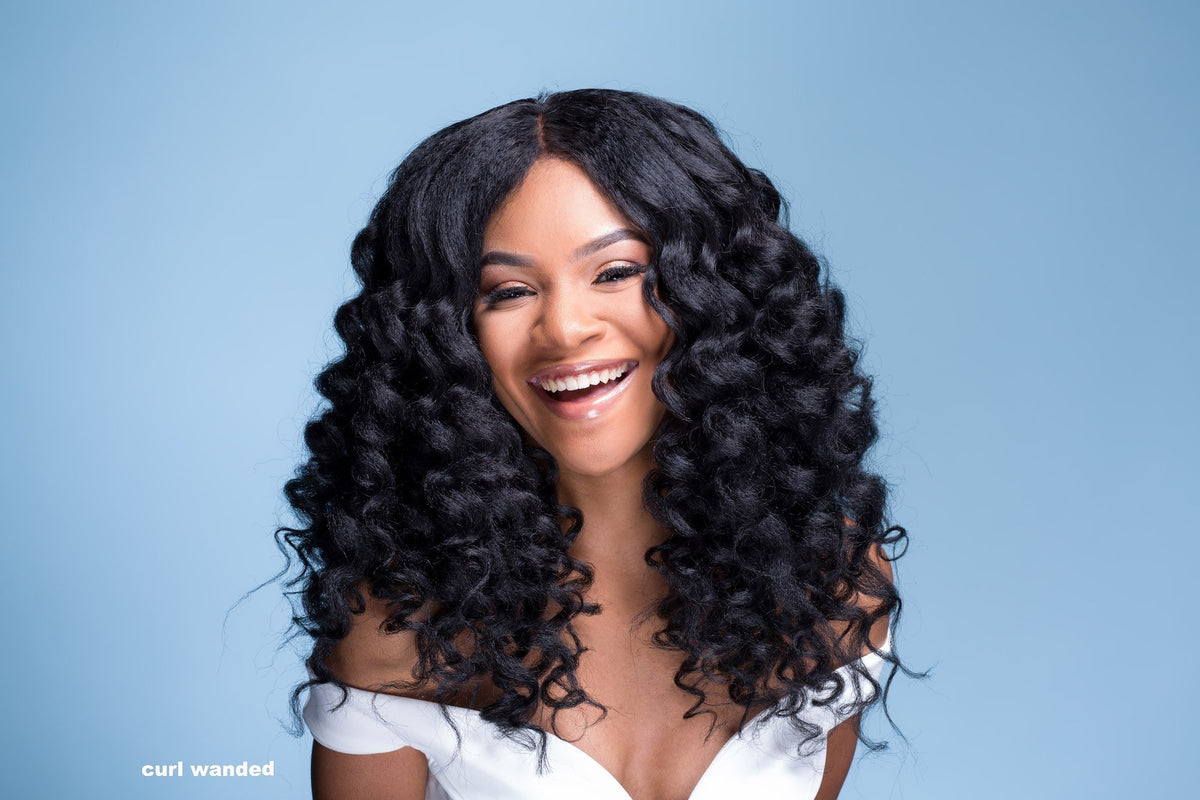
Clip-in hair extensions offer style flexibility that has become the go to for many women. They are available in various natural styles and lengths. Hair extensions are a quick and simple approach to add length and volume to your natural hair. They are also very easy to install and can be styled to blend seamlessly with your own curls.
One of the most exciting reasons to wear clip-ins is the styling versatility. You can achieve highlights and coloring without damaging your own hair, wear shorter bangs without cutting your hair or achieve fuller puffs with a few clip-ins.
In this post we look at how to add clip-ins to your hair in a few easy steps.
Shop KinkyCurlyYaki Clip-ins >>>
Preparing Your Clip-ins for Installation
Adding clip-in hair extensions to your hair requires preparation and planning for the best results. When you properly prepare your clip-ins for installation your hair is more likely to blend seamlessly with your own natural hairstyle. Here are a few things to consider:
- Your clip-ins will come in sections and include up to 7 wefts (can include up to 4 clip-ins).
- Prior to adding clip-ins to your hair, co-wash them and let them air dry.
- Brush each clip-in gently. Begin at the tips and work your way to the clip in.
- Curl or separate your natural clip-in hair extensions to match your hair or straighten it. Remember to apply a heat protectant before using heat on your clip-ins.
How to Install Your Clip-ins
Installing clip-ins is simple and straight forward. Keep in mind that your clip-ins may take a while to style properly to achieve the look you desire and seamless blend. For the most natural look install your clip-ins at least 1 inch from the hairline.
- Part your hair into sections or in the place or area of your hair you want to add the clip-in.
- Choose one of your prepared clip-in wefts.
- Locate your part.
- Press open the comb-like clips on your weft.
- Position the weft right over the part and slide the combs into your hair, as close to the roots as possible, and press them shut. (If you're installing more than one clip-in begin with the middle clip first, and then add the clip-ins to the sides.
- Repeat until you desired style is achieved.
Best KinkyCurlyYaki Clip-in Install Videos
Clip-ins are the best and most versatile options when it comes to adding length or volume to your natural crown. They work to also prevent unnecessary damage to your hair and give you other various stylish options.
If you are interested in knowing more about how KinkyCurlyYaki clip-ins wear over time, watch BeautyLuvFashion's review. She shares her positive experience with the clip-ins over an 8 month period.
For a complete step by step guide on how to wear clip-ins and your natural hair is similar to the 3C hair type, take a look at HappyCurlHappyGirl's review tutorial. She shares that she enjoys how light and easy to wear the clip-ins are and also mentions they she has even slept in them before.
When it comes to shedding and tangles understanding your choices is a first step in choosing the right clip-ins for you. In this video review VeePeeJay talks about how well the hair has held up through trips to the beach, swimming and more.


